

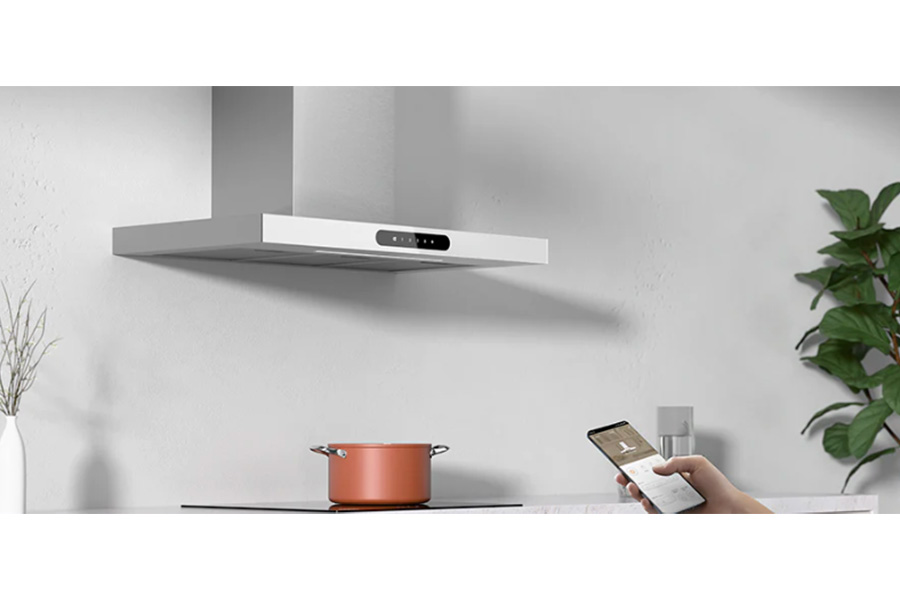
An island cooker extractor hood is an important feature for kitchens with a main cooking island. It not only eliminates steam, grease, and cooking odors but also adds a fashionable focal point to the area. This step-by-step guide will help you think through the process.
Tools and Materials You’ll Need
Before you start, gather the following:
- Measuring tape
- Power drill and screwdriver
- Spirit level
- Ladder
- Ducting kit (for vented hoods)
- Screws and wall plugs (usually contained with the hood)
- Pencil for marking
- Protective protection and safety glasses
Step 1: Choose the Location
Position the hood straightforwardly above the center of your island range. Measure carefully to guarantee it aligns absolutely with the hob. Most manufacturers recommend leaving a break of 65–75 cm between the hob surface and the hood to allow effective ventilation while maintaining security.
Step 2: Mark the Fixing Points
Using a measuring tape and essence level, mark the points on the ceiling where the hood will be fixed. This is individual of the most important steps—accurate measurements guarantee that the hood hangs straight and focused above your island.
Step 3: Prepare the Ceiling
Drill the apparent fixing points and put wall plugs or anchors. For heavier hoods, guarantee you fix to joists or reinforce the maximum structure to handle the pressure. If you are installing a ducted hood, you’ll also need to drill a hole in the maximum for the ducting to pass through.
Step 4: Install the Mounting Bracket
Attach the mounting bracket or maximum plate that comes with your extractor hood. Double-check with a soul level to make sure it is absolutely straight. A secure bracket is key to consistency in your hood constant.
Step 5: Attach the Extractor Hood
With the help of another person (because island hoods can be difficult), lift the hood and assign it to the mounting classification. Secure it with screws as per the manufacturer’s directions. Make sure it hangs evenly over the cooking island.
Step 6: Connect the Ducting or Filters
Then you need to attach the ducting kit to the hood.
Step 7: Electrical Connection
An extractor hood demands a power supply. If you are assured in electrical work, you can link it yourself following safety principles. Otherwise, it’s strongly urged to hire a restricted electrician for this step to guarantee safe and proper wiring.
Step 8: Test the Hood
Make adaptations if necessary.
Conclusion
Installing an island cooker extractor bonnet requires accuracy, patience, and few DIY experience. Read the above steps to install, and you can also contact an expert for further assistance.